Wouldn’t it be great if we could keep that new car feeling forever? Unfortunately, as the months and years pass by, the weather’s elements and time will inevitably wear on your vehicle. As sad as this realization may seem, there are many preventive measures that you can take to prolong the shine of your vehicle for much longer than you may realize. One of the most important things you can do for your car to ensure that its paint remains as shiny and perfect as ever is to wax the car. Auto repair in Philadelphia, PA is a no-brainer with us, but we want to ensure that you are readily equipped to wax your car on your own if need be!
Getting The Right Wax
There are various types of waxes that you can snag, so it’s vital that you recognize the differences. While natural wax is the most traditionally seen on the market, you can also choose between polymer and hybrid waxes! Polymer wax is ideal in that it does not clump as easily as natural, and it provides a longer lasting protection. The only downside, however, is that it will cost you a little more money. Hybrid waxes are a mix between the two previously mentioned, so do your research before purchasing and make the choice that is best for your vehicle.
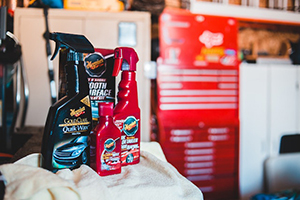
What You Will Need
- High-quality automobile wax
- Wax pad
- Microfiber towel
Steps in Waxing your Car
Step 1. Wash your car
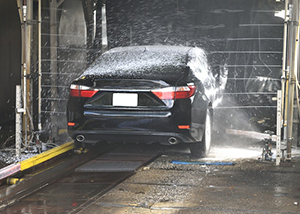
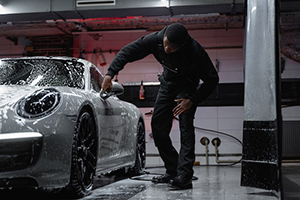
Before you get into the job of properly waxing your vehicle, you’ll want to make sure that your car is thoroughly cleaned and decontaminated. Either wash your car yourself or take it to a car wash. Starting with a clean car is crucial because any dirt or grime that is left on the surface of the car could cause the clear coat of the paint to be scratched when the wax is applied.
Step 2. Apply wax to a pad
If you’re using car wax that comes in a tub, open the packaging and take the pad out. There ought to be another lid under the pad. This lid should open to reveal the wax. Apply a little amount of sealant straight to the waxing pad if you’re using a liquid paint sealer. It’s crucial to start with a small amount of product for wax paste and liquid paint sealant. It is not necessary to use a lot of wax at first since as you wax the car, the pad will get more product-saturated.
Step 3. Find a shady spot
If you are waxing your vehicle on a nice warm day, we highly suggest that you find a shady spot before proceeding. If you wax your car when the sun is harsh and bright, it will bake the wax onto your vehicle, making it almost impossible to remove. This can lead to further damage to your vehicle’s paint, which we definitely want to avoid.
Step 4: Apply the wax
Apply a healthy amount of wax to your pad and in straight line motions distribute to a 3×3 section. We recommend that you apply the wax in such small sections because this will ensure that the wax will not dry up and make the removal process difficult. Additionally, make sure that you are waxing only the paint on your car and avoiding the plastic pieces as well as the headlights.
Step 5. Remove the wax
Remove the wax from your car’s surface with a soft cloth, such as a chamois, microfiber towel, or another soft material. To begin, gently press the cloth against the wax in a circular motion to remove the bulk of the wax.
Step 6. Buff the wax
To improve the sheen and luster of the paint once the visible wax has been removed, buff the vehicle quickly in a circular motion. Your car’s surface should be glossy and lustrous when the wax is removed.
Now that you are more informed on how to wax your own vehicle, dull paint on your new ride should be a thing of the past! When inquiring about auto repair in Philadelphia, PA we are ready to help you any way that we can!
